What's up with this
banner thing?
If
you don't see a navigation bar on the left, CLICK HERE
|
|
|
January
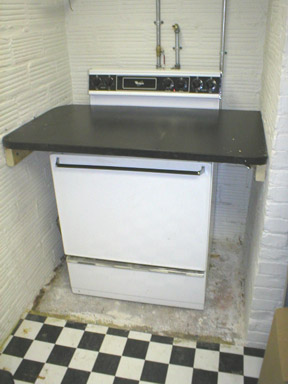
11, 2003 Powdercoat PrepNo word yet on the response from Rusteco. I'm going to drop them another E-mail on Monday, and if there's still no response, I'll move on. It's not worth wasting a lot of my time on it. Thanks for the helpful advice on my message board--it's good to know somebody's reading and using it. I was afraid the message board feature would go forever unused, so thanks, and KEEP IT UP! I received my new oven element last night, and finally got the stove working today. I tried everything to get it to work, and eventually traced it to some bad wiring, which I repaired. The new element wasn't necessary after all, so I'm going to return it and see if I can't get my $45 back. I don't think Sears will give me a hard time. With that done, everything is good to go for powdercoating. I set up my powdercoating "station" down in my basement shop. I had an old formica countertop lying around from the garage renovation, so I used that to make a countertop above the stove. I have it sitting on some braces screwed into the wall, so if I want to use the burners for any reason, I can just remove it.
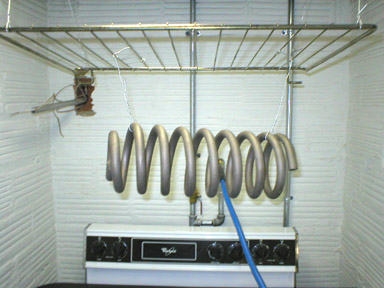
With the oven up and running properly, I wanted to try powdercoating some parts. Since the springs were already blasted, I started there. The first thing I did was bake them at about 450 degrees for a half-hour to get any oily residue off. When they cooled, I wiped them down with some Acetone, then rigged up a rack so I could spray the powder and load it into the oven without touching the spring.
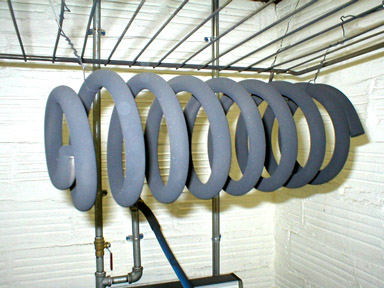
Then I turned the pressure on my air supply down to about 8 PSI as recommended, and sprayed the spring. It was tough to get all the surfaces, but I think I did a pretty good job of it. The static charge that the gun puts on the powder does a decent job of attracting the powder to the part, but it still generates quite a bit of overspray. Fortunately, it cleans up with the shop-vac or a broom. And there's no smell.
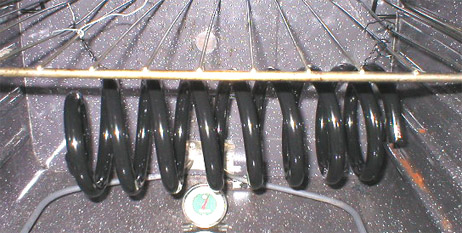
After spraying, I just put the spring in the oven and baked it at 450 degrees until the powder "flowed out" which means it melted and became uniformly shiny. Once that happens, turn down the heat to 400 degrees and set your timer for 20 minutes. Let the part cool and it's ready to be used.
I did both springs today, and they turned out really nice. The first one has maybe one thin area, but nothing that will affect durability or appearance. I'm a perfectionist, and I notice those things, but I'm not going to recoat it just for a thin spot. This car's going to lead a pretty easy life, so I'm not terribly concerned about it. Tomorrow, I plan to try out my "stamped steel" colored powder on the A-arms and the rest of the suspension. So far, I'm really impressed with the HotCoat Powder Coating System. It's really easy to use and even my initial results are very promising. Previous Restoration Day E-mail me at toolman8@sbcglobal.net This page accessed Thanks, Fidget! |