What's up with this
banner thing?
If
you don't see a navigation bar on the left, CLICK HERE
|
|
|
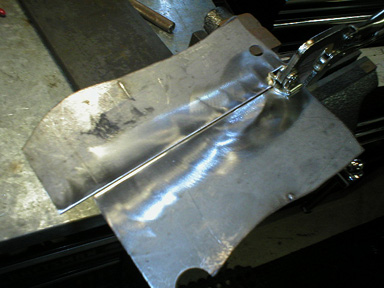
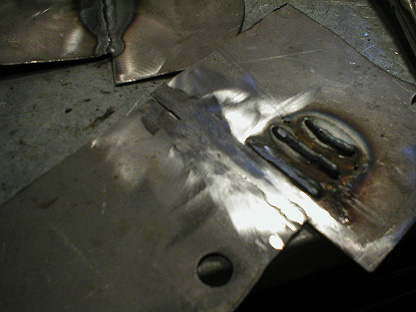
January 24, 2004 Welding HomeworkI took some time today to practice welding some sheetmetal. James found some 18 gauge metal in the scrap heap at work and gave me some tips on getting this thin metal to stick together. So far, my biggest problem with all my welds has been moving too fast along the bead, which reduced penetration. With sheetmetal, staying too long in one place will lead to burning through the metal. I've read in many places that it is often better to use a series of spot-welds to fix sheetmetal in place to avoid any warping, skipping around to keep heat from building up. I decided to try a test.
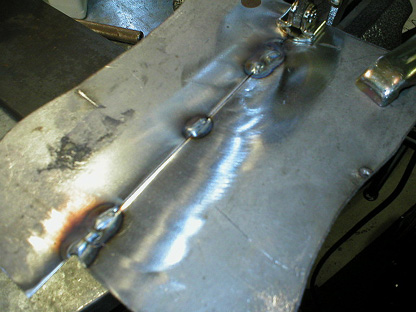
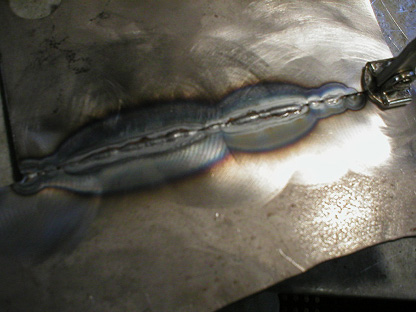
Then I did a second test and used a series of short spot welds to join the two halves and elminated the warpage problem. And just for grins, I ground down the weld to take a look at its integrity.
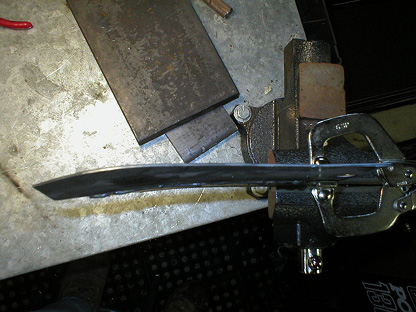
Bolstered with some confidence, I decided to build my buffer stand using the steel I got from work. Read on... Previous
Restoration Day E-mail me at toolman8@sbcglobal.net This page accessed Thanks, Fidget! |