What's up with this
banner thing?
If
you don't see a navigation bar on the left, CLICK HERE
|
|
|
July
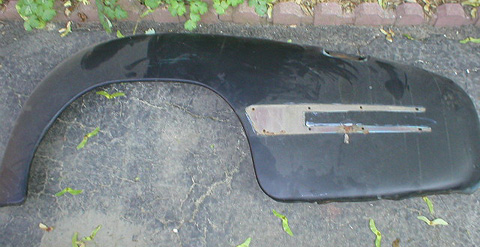
1, 2003 Sheetmetal DisassemblyI had to clean out the shop--I couldn't stand it any more. There were fenders, tires, trunk lids, bumpers and brackets everywhere and it was getting difficult to move around without tripping over all of it. Before I put the sheetmetal into storage, I disassembled everything I could and put the items that will need to be rechromed in the chrome pile to go to the plater's. I started with the rear fenders, which still had the fender spears attached.
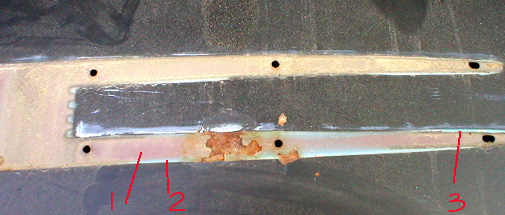
After I removed the spear on the left rear fender, I could clearly see just how many layers of paint were on this car (no to mention that the hacks who painted it didn't bother to remove the trim, which is only held on by 6 screws):
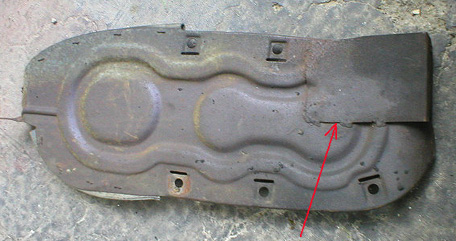
One thing that was strange on the left side fender was the splash shield. Since there isn't one on the passenger's side, my best guess is that it is designed to protect the gas tank filler neck from road debris that could damage it. However, somebody seems to have welded some additional sheetmetal onto the splash shield, but under this welded panel, the splash shield is completely intact. Why someone would do this, I cannot guess, but he or she sure liked to weld...
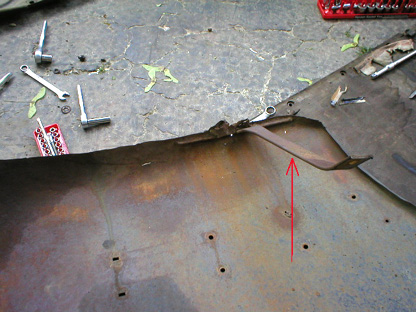
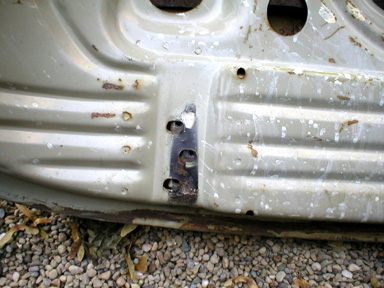
The passenger's side rear fender is in worse condition. Although it lacks a similar splash shield, it does have some non-original stuff welded in there in the form of a support bracket. There is also some rust perforation and several dents on the bottom edge of the fender behind the wheel opening. Perhaps this bracket was installed to help keep the fender rigid since it had been weakened by rust and/or an accident. I don't see any dents that have been pounded out, and there's no evidence of body filler of any kind, so I'm not really sure what the intent of this bracket is. But based on the quality of the welds (poor--Julia could do better) and the rough saw marks on the frame end of the bracket, I'm guessing that it is not factory. What do you think?
The last thing I did was remove the latch hardware from the trunk lid. The handle and bezel are going to go out to be chromed, the license plate bracket will be blasted and powdercoated, and the latch itself will be cleaned and re-oiled. I'm not sure if it is supposed to be painted, but more than likely, it should be cad plated. I'll see if I can get it apart without any damage. The trunk lid itself is in decent shape, though there are two dents that I didn't notice before, since they were under the license plate bracket. One will be easy to remove, but the other is hidden under the supports inside the trunk. I might take it to one of those paintless dent removal places and see if they can massage it out through one of the access holes. I also noticed that what I believe to be original black paint can be seen clearly where the hinges are bolted to the trunk lid.
Once I was done with the disassembly, I moved everything up into the attic with the other pieces I won't be working on for a while. My current plan is to take the frame to the powdercoaters ASAP. When it is done, I'll store it somewhere (where?!?) while I work on the body and get it into primer. When I'm ready to put the body back on the frame for final sanding and panel fitting, I'll bring the frame home, assemble the chassis, drop the body on and finish up the body work with the body on the frame so everything fits correctly. That way I also have a complete rolling car, but I don't take up two spaces in the garage (Julia would like to put her Miata in the garage sometime this year...). We'll see how that works out--the plans I make have a way of changing several times before anything happens. Previous
Restoration Day E-mail me at toolman8@sbcglobal.net This page accessed Thanks, Fidget! |