What's up with this
banner thing?
If
you don't see a navigation bar on the left, CLICK HERE
|
|
|
September
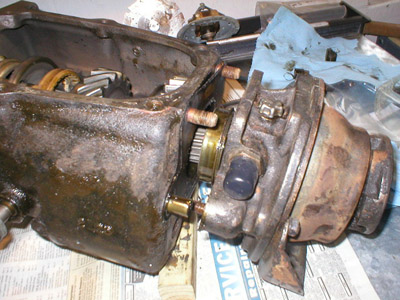
27, 2003 Transmission DisassemblyI know I said that I wouldn't need to do any work on the transmission, but today while I was puttering around, I thought that I could paint the transmission case. To do so, however, I thought it would be best to disassemble the three pieces--case, tailshaft and torque ball--to replace the gaskets. Unfortunately, it didn't come apart the way I thought it would--the universal joint inside the torque ball housing is pressed onto the main cluster gear of the transmission. Instead of just sliding all three pieces apart once they were unbolted, I had to remove the main cluster gear and the second and reverse gears from the main shaft. Of course, once I took the pieces apart (but before I realized that it required removal of the cluster gears), the gasket between the case and the tailshaft ripped, so I had to get it apart to replace that gasket.
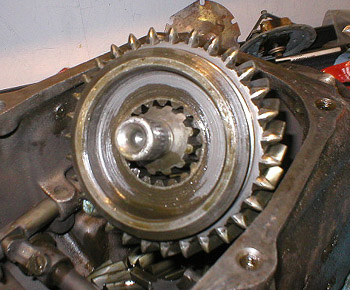
In reality, disassembly wasn't very hard. A few snap rings and a few screws and it all came apart easily. The snap rings were actually the hardest part, since they don't have the convenient little holes on them that modern snap rings feature. Some PB Blaster on the main shaft and the second and reverse gears slid right off without any force. Then I could slide the main shaft out the back of the case, removing both the tailshaft and torque ball housings. There is a bearing pressed onto the end of the shaft that I would have to remove if I wanted to get the tailshaft away from the torque ball, but I don't think that's necessary. I can replace the gasket, clean up the parts, and reassemble everything without pressing the bearing off. The bearing doesn't have any play or grinding, so it is in good shape like the rest of the parts in this transmission.
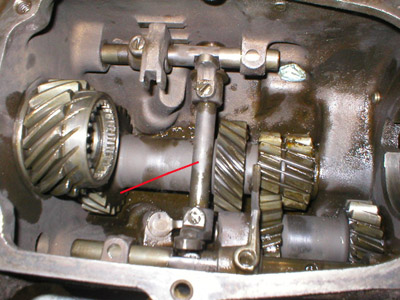
With the gears out of the way, I could concentrate on the side selector shaft, which was secured by a pair of screws. Removing the screws, I could slide the shaft out the side of the transmission and remove the second-high shift fork.
My first thought on painting the case was to powdercoat it. I cleaned it and degreased the exterior in preparation for that, and threw it in the oven to bake off any remains. However, before I turned the oven on, I thought about the seals--they are likely cork or leather and not very heat-resistant. So instead of powdercoating the housing, I decided to use Zero-Rust, which has a semi-gloss black finish as required. But that will have to be another day. Previous
Restoration Day E-mail me at toolman8@sbcglobal.net This page accessed Thanks, Fidget! |