What's up with this
banner thing?
If
you don't see a navigation bar on the left, CLICK HERE
|
|
|
January
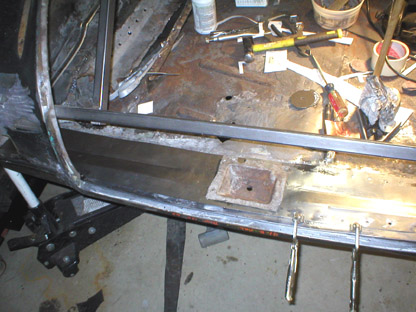
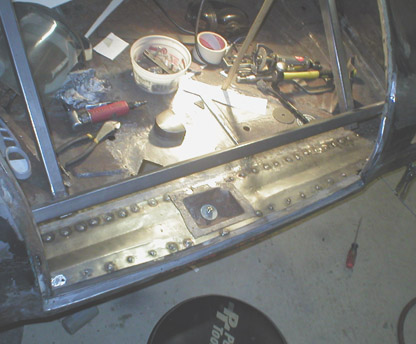
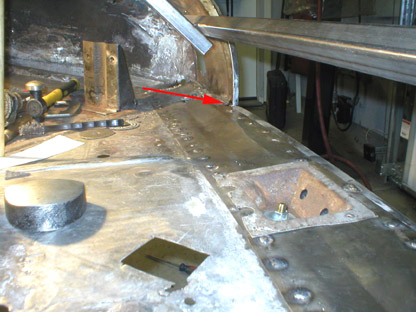
6, 2005 Trunk Work Part 16Today's entry actually covers three days of work. The first is about an hour to cut out the driver's side panel and form the two bends. I couldn't continue because the hole saw I used to create the recessed bolt area gave up the ghost during the manufacture of the first panel. The second day, yesterday, I bought a new hole saw and finished fabricating the panel. I wanted to paint the underside, but didn't have a brush for the Zero-Rust, so I was stymied again. Tonight I finished everything and spot-welded the two panels into place. I didn't take many photos of the second panel's fabrication because it was pretty much the same as the first--it only took about 2 hours to make this one, a big improvement over the first. Experience counts.
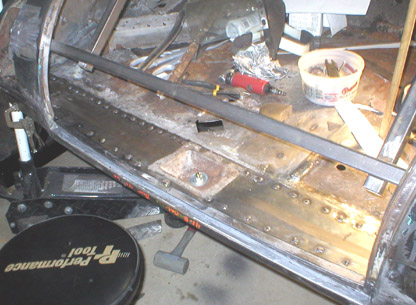
Once I was satisfied with the fit of the panel and the way it aligned with the other one, I drilled some holes, clamped them into place and started welding. The important thing was to keep the forward edge (the edge nearer to the front of the car) straight from side to side, because it will be somewhat visible. The curved edge at the lip would be tougher to align perfectly, and I'm still debating whether I want to put one more sheet metal piece over the top to clean it up for originality's sake. We'll see how it looks when it's finished.
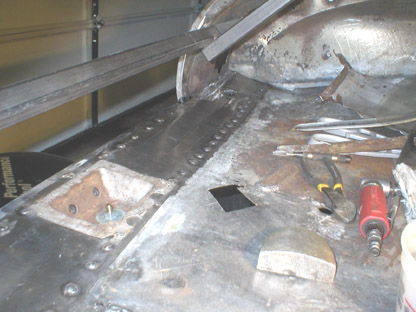
The floor still needs some hammer-and-dolly work to be completely flat, but I'm very pleased with the results. There is still some touch-up work to be done to fully seal the area, such as around where the trunk floor meets the sides of the trunk opening at the weatherseal trough. I'll weld that up. I also have to weld the flanges of the fabricated panels to the outside quarter panels to fully secure it. After that, it goes up on the rotisserie and to the sandblaster's shop. There's a lot of work beyond this, but I think the worst is behind me.
Previous Restoration Day E-mail me at toolman8@sbcglobal.net This page accessed Thanks, Fidget! |