What's up with this
banner thing?
If
you don't see a navigation bar on the left, CLICK HERE
|
|
|
January
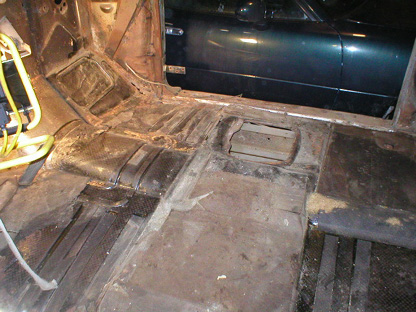
27, 2004 It's a Dirty Job......but someone's got to do it. Tonight I attacked one of the most thankless jobs in any restoration: removal of undercoating, insulation and other junk stuck to the floors. On my Buick, that meant a combination of tar, tar paper and some kind of tar-impregnated fiber mat. Oh, yeah, there was also some hardened tar substance used as seam sealer. The state of the art in adhesives in 1941 was all tar. Now, that doesn't mean it wasn't effective; quite the contrary, in fact. That 63-year-old tar gripped tenaciously to the floors and firewall to the point where I had to resort to brute force to remove some of it. The tar-impregnated fiber mat on the firewall was especially difficult to remove, having the consistency of bread dough and the stick of super glue. Messy.
I took a putty knife and sharpened it to a razor edge to really get under the junk and scraped. And scraped and scraped and scraped. I actually didn't mind it much--I put on my new BeeGees CD (hey! Everyone likes the BeeGees, right?) and did some mindless work. It was good for thinking. Once I had everything scraped and unstuck, I used the Shop-Vac to suck it all up. I also pulled all the insulation (called rock-wool in 1941) from the quarter panels under the rear windows. The stuff just crumbled to dust when I touched it, so I shoved the vacuum nozzle down there to suck it up, too.
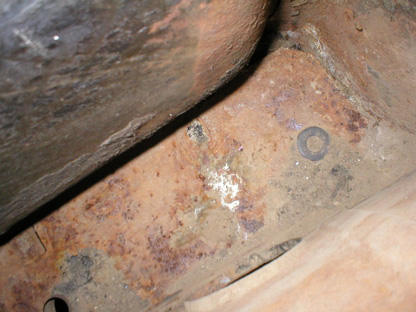
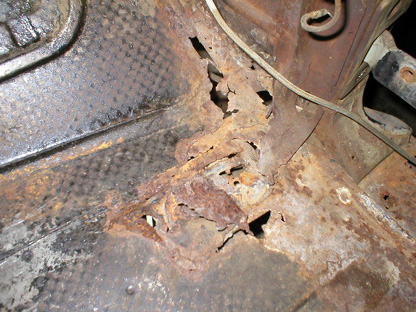
Cleaning up also gave me a better look at the rust damage in the passenger's footwell. It's about what I expected. I'm going to sandblast the area this weekend and start to figure out the best way to repair it. It appears that there are several layers, including the floor and a body brace both above and below. All these will have to be removed and replaced. It doesn't have to be perfect because nobody will ever see the repairs, but it does have to be structurally sound. Once the area is sandblasted, I'll have a better idea of what's involved.
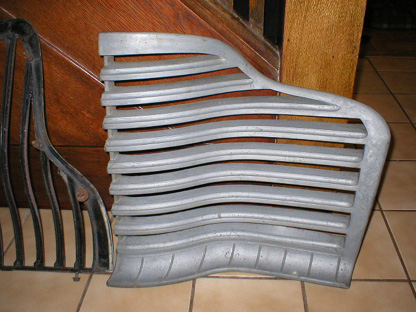
One last thing: I found about the coolest thing yet for the restoration: an NOS grille that has never been chromed! It should cost a fraction of my original grille to restore with no pits or cracks. Check it out:
Previous
Restoration Day E-mail me at toolman8@sbcglobal.net This page accessed Thanks, Fidget! |