What's up with this
banner thing?
If
you don't see a navigation bar on the left, CLICK HERE
|
|
|
February
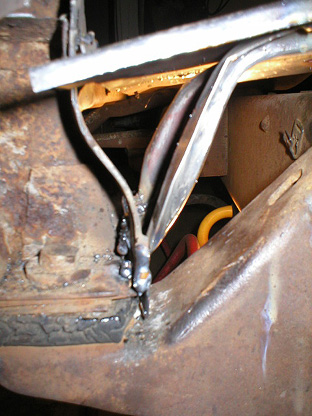
25, 2004 Floor Repair Part 3The brace is in, and it fits pretty well, if I do say so myself. The first thing I did was clean up the mating surfaces on the brace and the bottom of the Buick's floor. With the frame in the way, it was a little difficult to get all the areas, but I figured I would tack it in place where I could, then finish welding it up once the body was off the frame. I clamped it in place with some vise-grips and placed a few tack welds to hold the brace to the body mount. Then I double checked the fit against the floor and finish welded it to the body mount.
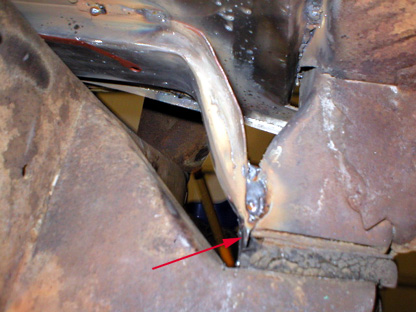
With it secured to the body mount, I clamped it tightly to the floor, and tacked it there, as well. I made sure to tack weld it to both the new steel and the original to distribute the stresses properly and strengthen the patch. And let me tell you, this floor is SOLID. Nobody will ever know judging from the way the floor feels under their feet. I plan to do the finish welding after the patch is finished and the body is off the frame so I can have full access to the bracket to properly secure it.
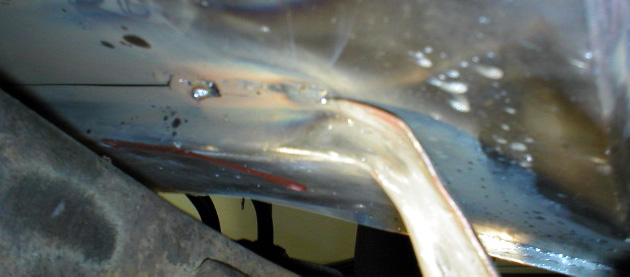
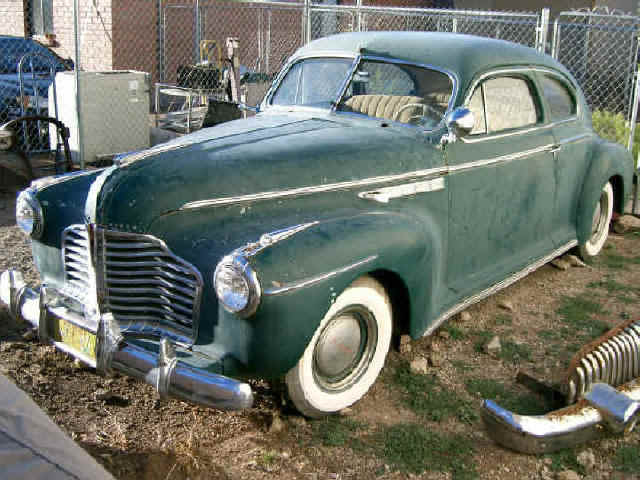
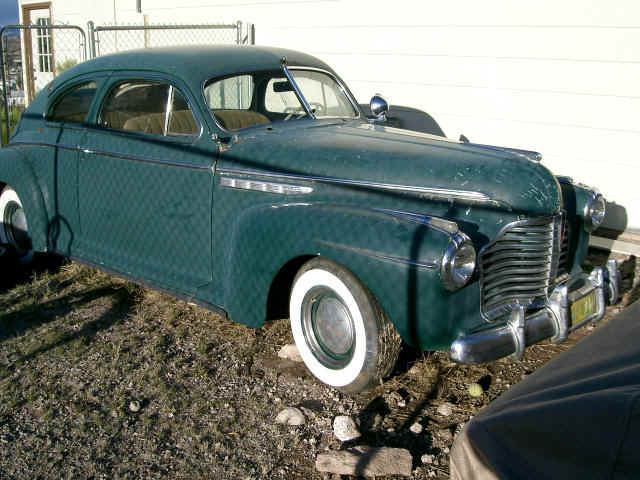
Speaking of welding, I'm a little ashamed to show you my MIG welds. I'm a pretty decent TIG welder, but the MIG is a new experience for me, and I'm having some trouble mastering it. The problem is the wire--with TIG, you only use filler wire when you need it. If your gaps are tight, you can just weld the pieces together without it. With MIG, you have no choice, it is the electrode. My problem is that I'm trying to melt the two pieces together as if I were TIG welding, but the wire tends to pile up for a messy weld. So my MIG welds aren't perfect, but I'm pretty certain they're strong. I'll grind them down to hide the seams before I paint the underside of the car. Nobody will ever see them. I hope... And hey, one more thing, go chat it up at the new Dual Carb Registry and have some fun, will you? :) This Special sedanette is in the Buy/Sell/Trade forum, and it looks like a great foundation for a restoration. It's owned by Chuck Kendall (littlegto64@hotmail.com) and he's asking $4750.00 or best offer. I'd jump on it if I were you...
Previous
Restoration Day E-mail me at toolman8@sbcglobal.net This page accessed Thanks, Fidget! |