What's up with this
banner thing?
If
you don't see a navigation bar on the left, CLICK HERE
|
|
|
March
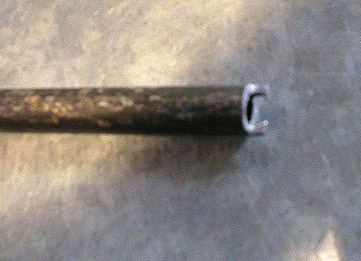
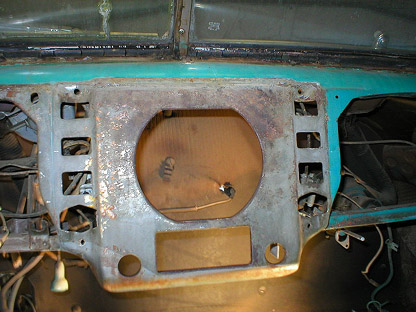
8, 2003 Dashboard RemovalWell, the interior, specifically the dashboard and trim, have been vexing me in my attempts to get them apart. Today I made a tool that would remove the nuts from the dash switches holding the center cluster to the main dashboard. With my tool, I was able to get the cluster fully removed. I also got the ignition switch apart using a screwdriver (not factory-approved, I'm sure). I couldn't detect any damage, however.
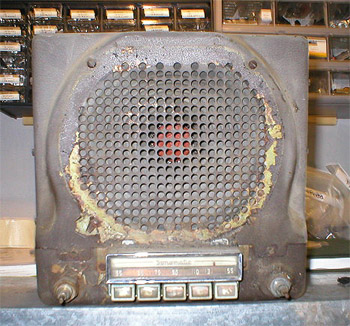
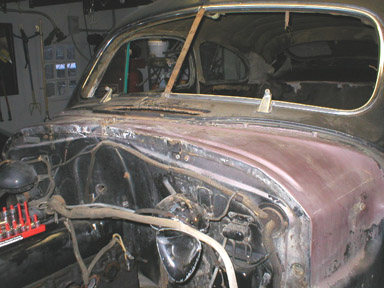
I removed the radio, the windshield wiper motor, the cowl vent and the emergency brake. In a struggle to get the main dashboard out, I removed both windshield panes so I could get at the mounting screws. The driver's side came out without a fuss, but the passenger's side was a casualty of the project. Good thing it's flat glass and not some monstrous curved windshield from the '50s. It looks like one of the panes had been replaced in the past, since their markings didn't match.
I also got my kingpins back from Doug Seybold last week (though he wouldn't reveal his secret for removing them!), and finally had some time to get them cleaned up. I masked off the machined surfaces with several layers of duct tape to protect them, and threw them in the blast cabinet. For the record, I want to say that glass beads are far and away the best abrasive for virtually any work in the cabinet. Low dust, nice finish and long lasting, and it cuts extremely well. I also blasted the pitman arm and tie rod (the longer tie rod will not fit in my blast cabinet nor in my oven to be powdercoated). On a related note, I decided to give the GreaseMaster another try, and dunked the grease-filled end of the longer tie rod in a solution of the stuff to see if it cleans out the 60-year-old grease. I'll report back when I have results. Tomorrow I plan to powdercoat the rest of the front suspension and try out the chassis (satin) black on the cooling fan and radiator shroud.
E-mail me at toolman8@sbcglobal.net This page accessed Thanks, Fidget! |