What's up with this
banner thing?
If
you don't see a navigation bar on the left, CLICK HERE
|
|
|
March
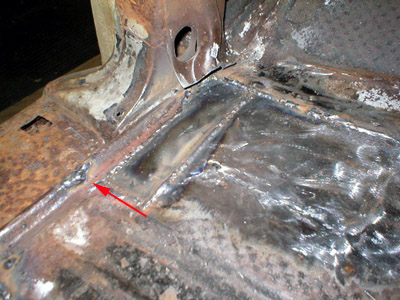
24, 2004 Unique Floor PatchesTonight I took a look at the patch I welded in last night and decided I wasn't happy with how the part that joins the cowl looked. The welds were rough and the patch didn't follow the contours of the floor very well. I tried to use a hammer an dolly to re-contour the patch, but the body brace and frame got in the way. I also noticed a few areas that were showing some perforation that I didn't sandblast and hadn't noticed before. These areas needed attention as well. Some were small holes that I could weld closed without a patch, but there was one cluster that was in the middle of some questionable metal, so I cut that out and made a patch. It turns out that these two patches were the most difficult to fabricate yet, and they are also my best work to date. I'm quite pleased with my metal shaping skills at this point.
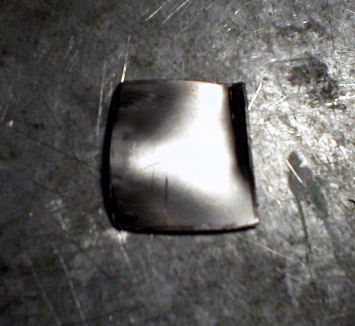
I also cut out the other area that needed a patch. I made this patch first since it was small (about 1.5 inches square). However, it turned out to be quite a complex shape because the patch area not only gently curved down towards the sill, but also encompassed a stamped raised area of the floorboard. It took a lot of fitting and grinding and bending to get it to fit, but when I finished, this turned out to be my best patch panel to date.
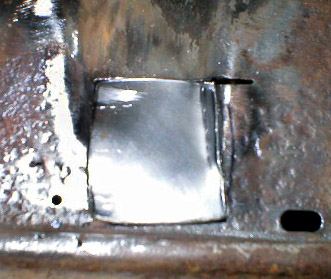
Then I made a new patch for the corner where the floor meets the toe board. My previous patch didn't follow the contours here very well, and might have looked odd, even under carpet. I spent about an hour cutting, bending and grinding to get this one just right. It takes time and patience, but it isn't really difficult if you just look at how the metal is moving. You can fine-tune the patch once you have it tack-welded in place using a hammer and dolly. If you're going to do this sort of work, a hammer and dolly set is invaluable--they may be my most-used tools except for the metal nibbler.
Previous
Restoration Day E-mail me at toolman8@sbcglobal.net This page accessed Thanks, Fidget! |