What's up with this
banner thing?
If
you don't see a navigation bar on the left, CLICK HERE
|
|
|
June
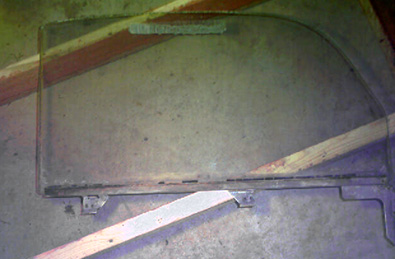
25, 2003 Passenger Door DisassemblyI'm now working towards removing the doors in preparation for pulling the body off the frame. I'm building a dolly for the body, and I hope I'll have a rotisserie in a few weeks to help with the underside. Tonight I removed all the hardware from the passenger's door, including the window, vent window, gearboxes and lift mechanisms, door lock and interior door handle. Well, I didn't exactly get the lift mechanism out since there's one screw fighting me; why the guys in 1941 insisted on attaching things with slotted screws instead of either phillips head or hex head screws is beyond me. If you screw it up the first time, you're out of luck and have to cut the bolt off. This is one area where perhaps I'll use something other than the original hardware. What a pain. I don't have any photos of this process, however, because the pictures didn't turn out (#*@&ing Veo camera!). I'm going to get my good camera back on Saturday, so I'll make sure to take pictures when I do the driver's door.
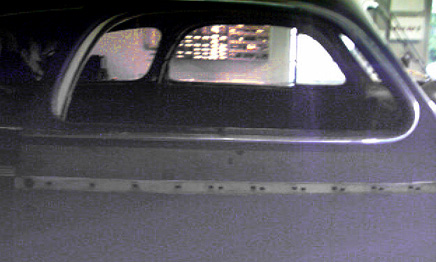
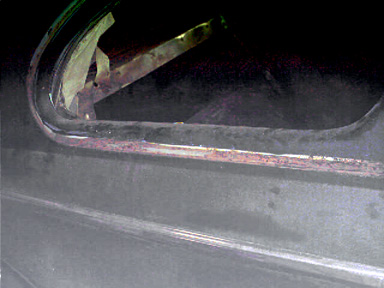
I also removed all the exterior trim on the passenger's side and it answered a lot of questions about how the trim is attached to the body. The quarter panel trim is attached with one long, straight channel of steel, which was rusty, but probably usable as a template for another set. I thought the channel would be slightly curved to match the curve of the body, but it is actually straight, which will make fabrication a breeze. Then I removed the trim on the passenger's door now that I could access it without the exterior door handle in the way. It was held on by clips that fit into the trim and into holes in the sheetmetal. I've seen these clips for sale frequently on Ebay, so I think I'll pick up a set or two for reinstallation time.
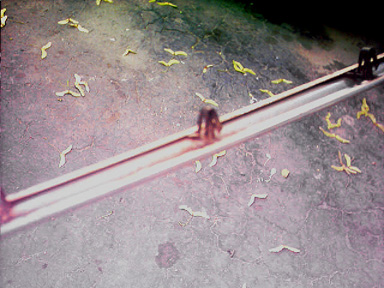
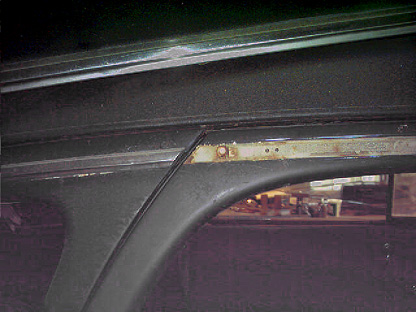
Then I started on the window surrounds. The trim around the door used clips identical to those I found on the driver's side door. But the top corner was secured by the factory fastener, a riveted button. The driver's door was cobbed up using a nut and bolt with a washer. I don't know if I'll be able to find an original replacement for the driver's door, but since it's virtually invisible, perhaps it won't matter. Is this something that the BCA judges look at? I don't know...
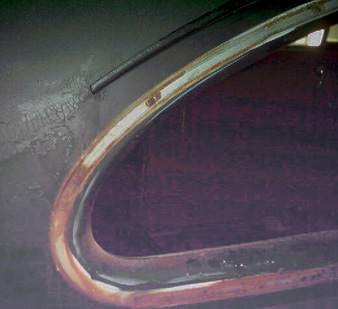
I also figured out what was going on with the driver's side quarter window trim clips. After removing the trim on the passenger's side, I found that there are two channels screwed to the body, one on the top and one on the bottom. The top one kind of wraps around the back of the window so that very little of the trim is not secured by the channel clip. Apparently, somebody broke these channels when removing the trim on the driver's side and cut them up into smaller pieces to secure the trim. That explains the simultaneous home-made look and the machine-made slots on the driver's side clips. I can salvage the ones on the passenger's side, but for the driver's side I may have to look for replacements in a donor car or fabricate my own (difficult since there is a compound curve in the top clip channel).
Once I get a tool to remove the window and door handles on the driver's door, I'll pull the guts out of it as well, then pull the doors off. If I don't do that next, then I'll be blasting and powdercoating some parts that I found in the trunk, like the battery hold-down and the front and rear license plate brackets. We'll see how it goes. Previous
Restoration Day E-mail me at toolman8@sbcglobal.net This page accessed Thanks, Fidget! |