What's up with this
banner thing?
If
you don't see a navigation bar on the left, CLICK HERE
|
|
|
June
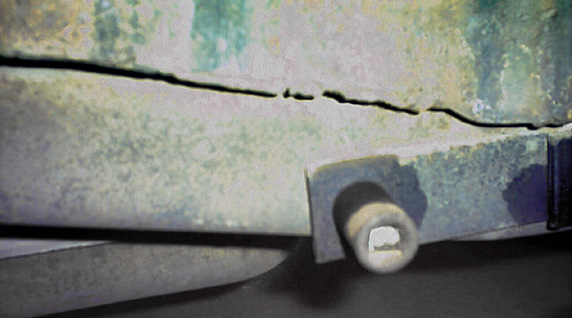
23, 2003 Stainless Trim RemovalOnce again, I must apologize for the lousy pictures. If anyone out there is considering a digital camera, DO NOT BUY the VEO Capture 1300--it's horrible. You may as well try to use an Etch-A-Sketch to take pictures. The pictures here are heavily doctored in Photoshop just to get them to the quality you see. Sheesh! Anyway, today I actually tripled the total number of broken bolts on this project. Although I only broke one when removing the left rear fender, nearly every single one broke on the right side, even with penetrating oil and just using a hand wrench, not the air socket. I'll have to drill them all out, since they are screwed into blind fasteners inside the body. The right rear fender looks a lot more beat up than the left, and has some rust in the lower edge. It isn't horrible, but again, we'll see what's lurking under the paint. If push comes to shove, I'd rather replace it with a known good one than try to fix somebody else's problems. The inner fender well was also cleaner and sharper (less rust erosion) than the left side--I don't know why. With both fenders off, I was able to easily access the rear bumper brackets to remove the rear bumper and splash apron. The right side came off easily (oddly enough), but the left side was a fight. I also found a funny thing on the left side bracket bolt:
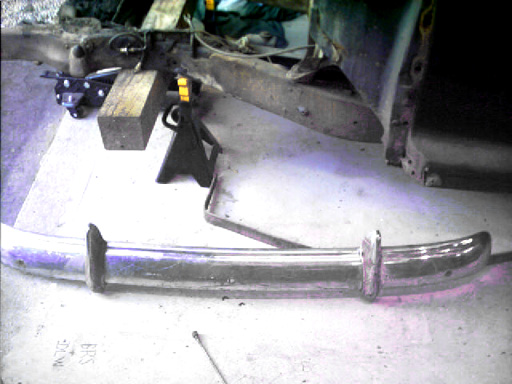
The rear bumper is in pretty good condition, though it definitely needs to be rechromed. The good thing is that it isn't bent or rusty, though the bumper guards are in poor condition. I'm going to see if I can find a better pair before I send these out to be rechromed. Having better base stock will save a lot of money in the chrome department.
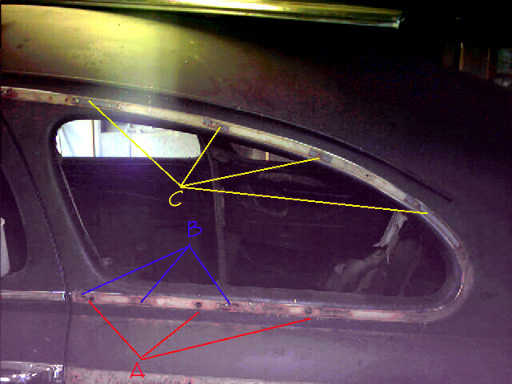
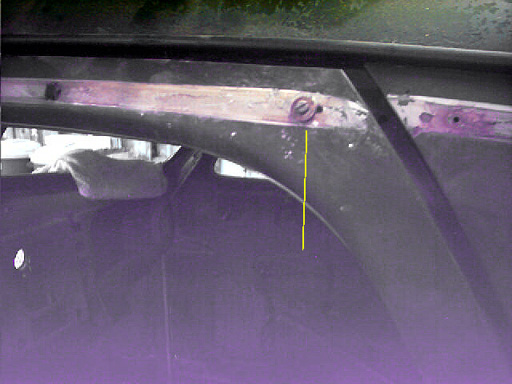
Then I turned to the stainless trim on around the windows. I started with the quarter window trim, and gently pried it away from the body. I managed to remove it without any damage. However, the clips that hold it to the body look strangely home-made. I thought that they would either match the continuous strip that held the body trim on, or they would be spring-loaded clips. Instead they were little steel channels of varying lengths screwed into the body with sheetmetal screws. The trim snapped onto these. There were also several larger holes that weren't used at all. Check out the picture:
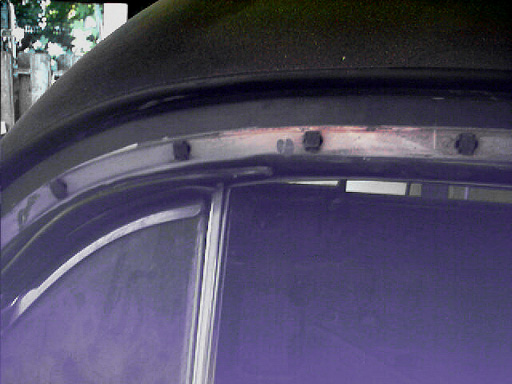
Then I removed the trim around the driver's door window, and that really got me thinking about how the trim is supposed to be secured and what had happened in the past. The driver's door used larger holes in the body to hold actual clips that were definitely factory pieces. However, the top edge at the trailing end of the door, there was an empty hole (presumably for a sheetmetal screw) and a nut and bolt in a second hole that were somehow holding the trim to the door. This definitely DID NOT look factory.
So once I had all this trim off, I started wondering what was authentic. Obviously the screw in the door wasn't right, especially since there is a second (presumably original) hole right next to it. But the pieces holding the quarter window trim on were baffling--were they home-made or were they original? They certainly looked home-made, but their mounting holes were slotted, and pretty precisely, too. But there were those other, larger holes that looked just the right size for the clips holding the front door trim on. Finally, the screws holding these clips on were long and slotted, but the screws holding the body trim in place were short phillips-head. Wouldn't you think they'd use the same type of screws to hold all the clips on? Maybe the other side will give me some more clues. Can anyone help me out with this mystery? E-mail me! I also think I solved the mystery of the Touquet Beige paint. I scraped a little bit of paint off from under the driver's door trim (where I found more Touquet Beige paint), and underneath that I found what I believe to be the original Pearl Gray Poly color. It seems that the Touquet Beige paint had a tigher grip on the gray than the gray had on the sheetmetal. Apparently somebody once went to a lot of trouble to repaint this car Touquet Beige. I wonder why? The gray and black looks awesome, and the Touquet Beige is pretty, um, blah. For a sample of the black and gray, check out Bob and Katie Montgomery's Century sedan in the Registry. Previous
Restoration Day E-mail me at toolman8@sbcglobal.net This page accessed Thanks, Fidget! |