What's up with this
banner thing?
If
you don't see a navigation bar on the left, CLICK HERE
|
|
|
December
27, 2002 Front Suspension RemovalI originally planned to get ready to
pull the motor this weekend, but then I got some great advice from my new Buick
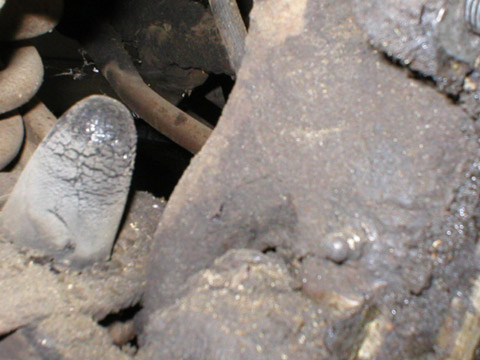
friend Wayne Murray The entire front suspension was covered in a mess of dirt and grease that was more than an inch thick in some places! I scraped it away where I needed access to fasteners. I began by jacking up the lower A-arm and relieving pressure on the spring. As Wayne said, the spring compressed instead of just lifting the frame off the jack stands. Looks like that was the right call.
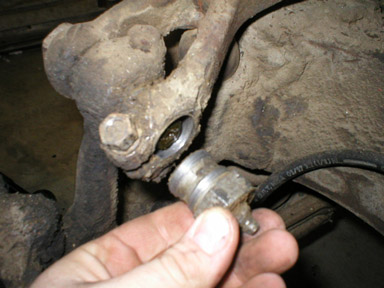
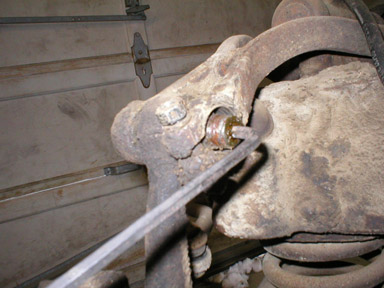
Then I removed the brake drums, bearings and backing plate. This was easy, since everything was fresh and new from when I rebuilt the brakes a few months ago. I kept all the pieces, and put my new wheel cylinders into plastic margarine containers to keep them clean and rust-free. I added some desiccant packs to the containers to eliminate moisture. They should be as good as new when I go to reinstall them in a few months. Next up, I removed the upper pin and bushing from the steering knuckle. The '41 shop manual is pretty vague on the whole subject of disassembly, instead concentrating on adjusting and maintaining the lever-action shocks, but by looking at the assembly, I was able to deduce how it was held together. The end caps unscrew from the pin, which is threaded into the knuckle. Using an Allen wrench, I then unscrewed the pin from the knuckle. A neat assembly.
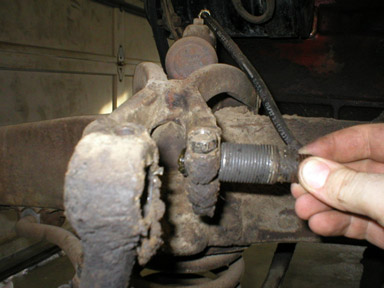
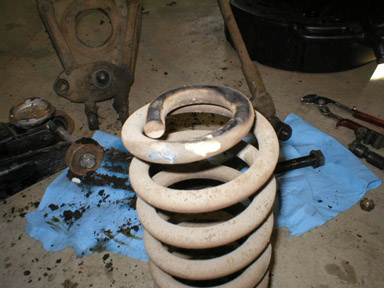
Then I removed the lower pin and bushings from the lower A-arm in much the same way. Loosening the bolts that held the brake backing plate on also loosened the radius arm from the knuckle, so disassembly was easy. I then removed pressure from the jack slowly and the spring just dropped out once the A-arm was low enough. I cleaned the spring off a little bit to check it out, and found that it still sported its original blue and white paint daubs, which indicated that it is the standard spring (not the high-riding spring, which offers 5/8" more ground clearance for rough roads) for the Century and Roadmaster chassis. Pretty cool. I'm going to reproduce the paint daubs after I strip and powdercoat the springs.
Then I removed the sway bar end links. This was a piece of cake with my new air ratchet (thanks, Julia!). Removing the sway bar bushing clamps was a matter of 4 bolts. These same bolts also held the radiator gravel guard in place, so I removed that, too. Then the sway bar came off without a fight. I wonder if it will fit in my blast cabinet? With everything else out of the way, I was able to remove the lower A-arm by unbolting 4 bolts holding it to the frame. The tops of these bolts were where the crud was thickest--I really had to dig to even find the bolt heads, and then dig some more just to get a wrench on them. I found that they were recessed slightly, so it took quite a bit of digging... Voila! Everything is off. Not a difficult job at all once you know how it is all assembled. My friend Wayne says that removing the lower bushings from the steering knuckle requires a torch, so we'll see how that goes on Saturday. I guess I can start removing engine accessories now, and get ready to pull the motor... Previous
Restoration Day E-mail me at toolman8@sbcglobal.net This page accessed Thanks, Fidget! |