What's up with this
banner thing?
If
you don't see a navigation bar on the left, CLICK HERE
|
|
|
February
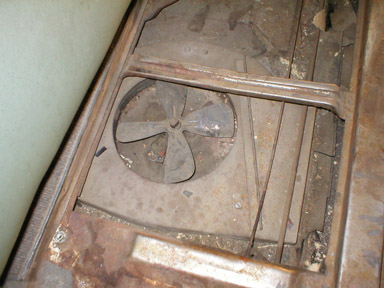
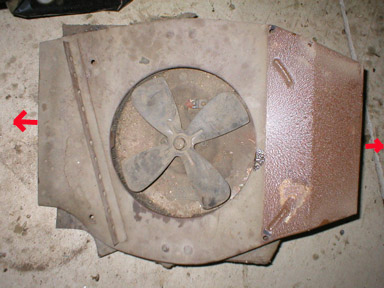
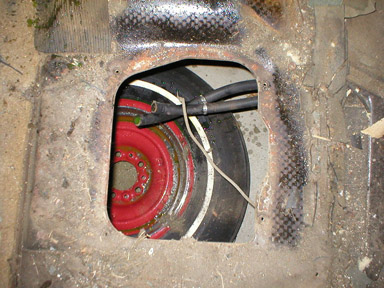
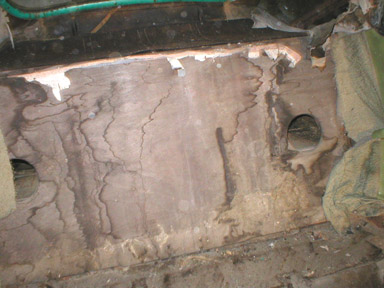
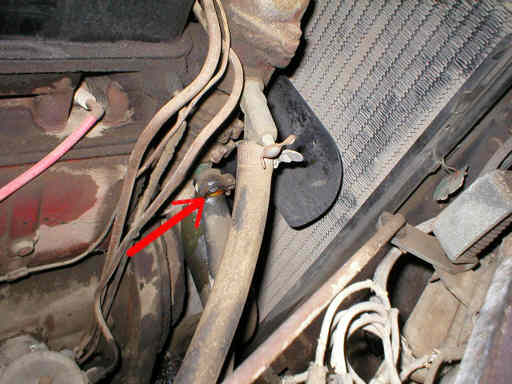
22, 2003 Gutting the InteriorWhat, you thought that just because I went to see Doug today, I wasn't going to get any work done? I was inspired! Today was also the first day in more than a month that it wasn't under 20 degrees outside. I can handle 30+ degrees, but if you get much colder than that, the fingers stop working. Since Doug has my kingpins and I couldn't continue in the suspension department, I decided to get the interior cleaned out. I started with the easy stuff, the seat cushions and seat backs. Then I removed the seat frame and adjustable tracks for the front seat, and the rear seat back. Then I pulled the rear quarter panels, which were just kind of hanging there after being reupholstered at some point in the past. Finally, I pulled the window moldings from around the windshield and rear window. I have to send them out with the dashboard and other window moldings and have them woodgrained. I also removed the underseat heater, which is a pretty neat little assembly. It's a doughnut-shaped heater core, with the fan in the middle. It has ducting that pushes warm air into the front passenger's footwell as well as into the back seat. It came out with 4 screws and some wrestling with the tarpaper that was used as both insulation and a gasket between the heater assembly and the floorboards. I also had to disconnect the new hoses I installed a few months ago. Good thing I did all that work, eh? I wanted to remove the dashboard, but I haven't found all the fasteners yet. The shop manual is pretty vague (what else is new?), so I was working by feel. Anyone out there know how to take the dash apart on a '41 Buick? Let me know...
Previous Restoration Day E-mail me at toolman8@sbcglobal.net This page accessed Thanks, Fidget! |