What's up with this
banner thing?
If
you don't see a navigation bar on the left, CLICK HERE
|
|
|
March
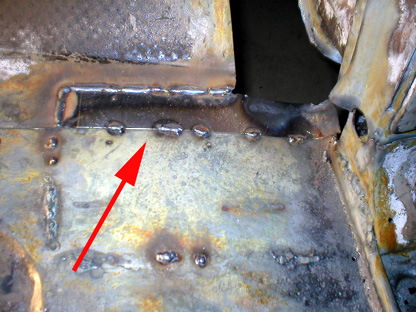
2, 2004 Floor Repair Part 4The floor is healing. I find the repair work very satisfying and really enjoy the work. Tonight I made the second part of the passenger's side rust repair patch, the piece that forms the lap joint over the first. I made a cardboard template to get the rough shape and used my new sheetmetal nibbler to cut it out. I used a file to fine tune the fit which was pretty good. I tacked it in place and used vise-grips to clamp it tight to the first patch panel and form the lap joint. Then I welded it from the bottom and put a few tacks on top to hold it tight. I haven't decided yet whether I want to try to duplicate factory spot welds or just weld the seam tight. I'm leaning towards sealing the seam to make the floor more rigid and to keep the elements out. I don't like lap joints, and getting this one as tight as possible will probably help ward off rust in the future.
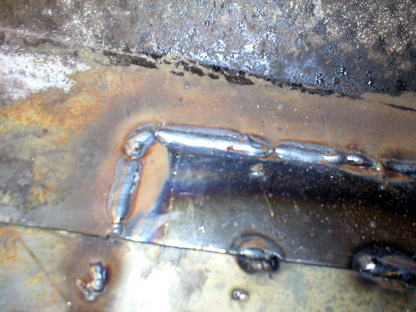
With the patch secured with tack welds, I finish welded the edges. I'm finally getting the hang of MIG welding and these are some of the nicest welds I've done yet. Looking at them from underneath, I'm getting good penetration and these should be strong welds that won't ever fail.
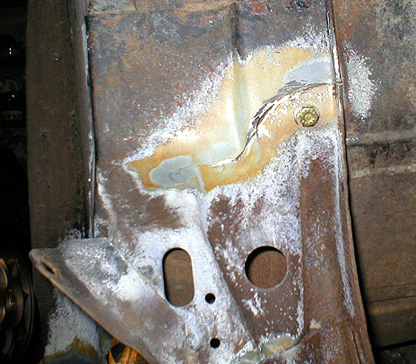
I also wanted to repair the cracked body mount at the passenger's front corner. I drilled a hole through the broken part and into the sheetmetal floor. Then I used a 1/4-20 nut and bolt to pull the broken part tight to the body and line it back up with the rest of the mount. I also used a fresh bolt in the body to frame hole to keep the body mount aligned properly while I welded. I ground the edges slightly to make a slight trough to improve weld strength and penetration, since this is likely a high-stress part. The weld was easy and clean.
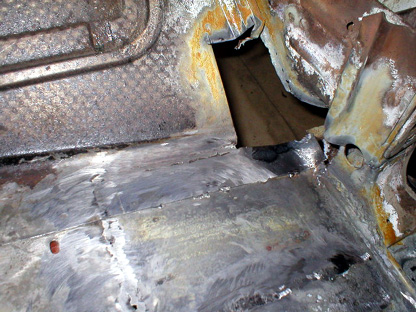
My last step was to grind down the welds on the floor pan patches. I was just curious to see how clean the patches looked. Turns out it looks pretty good, good enough to satisfy me. Even if somebody were to look under the car, it's unlikely that they'll be able to see the repairs. Once I have the body off the frame and on a rotisserie, I'll grind the welds from below before I paint and undercoat.
E-mail me at toolman8@sbcglobal.net This page accessed Thanks, Fidget! |