What's up with this
banner thing?
If
you don't see a navigation bar on the left, CLICK HERE
|
|
|
March
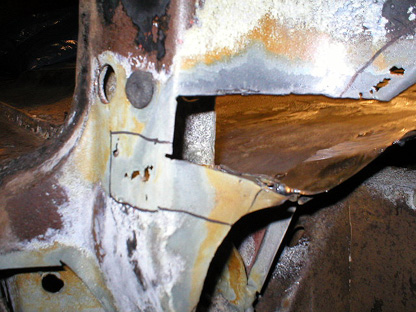
4, 2004 Floor Repair Part 5I'm really happy with tonight's repair--it's my best yet. I spent about a half hour just analyzing the area trying to figure out which step should come next. Finally, I decided that the outer skin should be finished before the inside panels. Then I cut out some of the rusted areas I found the other day after sandblasting. I took a careful look at the way this panel was shaped on the driver's side and realized that the floor forms another lap joint running parallel to the rockers. The outer skin forms the outside of the door hinge post, then curls under the floor to meet the floorboards at a lap joint. The patch I decided to make tonight would repair the door hinge post and recreate the curved area leading to the floor.
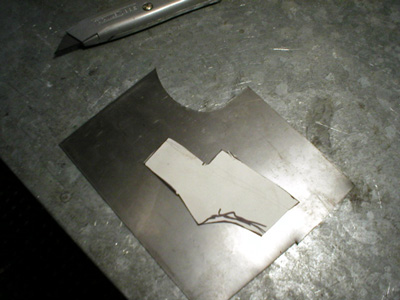
Once everything was cut out, I used a piece of poster board to create a template by placing the board behind the cutout area and tracing the shape. Then I cut out the shape and transferred it to some 16-gauge sheet metal. I used my new nibbler to cut it out.
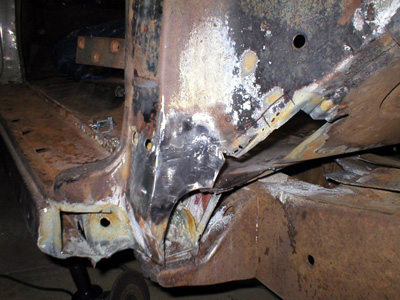
I neglected to take any pictures of my
patch panel and how I secured it to the opening with those neat little clamps from
Eastwood
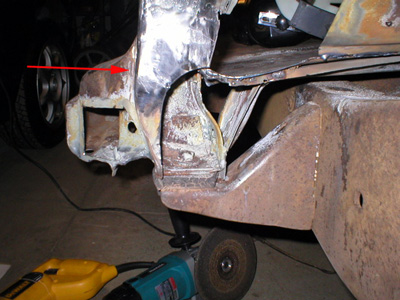
My next step will probably be to cut out the remaining rusty area from the panel edge (see the area marked with magic-marker in the picture above), and fabricate one more panel to form the corner of the lower cowl. Then I'll make a panel to finish the main floor area, and then finally seal up the inside of the door pillar with one last patch. I'm hoping to get all that done this weekend because I'm going to another trade show in L.A. next week and I'll be gone from Tuesday to Sunday. Once this side of the floor is patched, I can move to the other side and start all over again. Previous
Restoration Day E-mail me at toolman8@sbcglobal.net This page accessed Thanks, Fidget! |