What's up with this
banner thing?
If
you don't see a navigation bar on the left, CLICK HERE
|
|
|
August
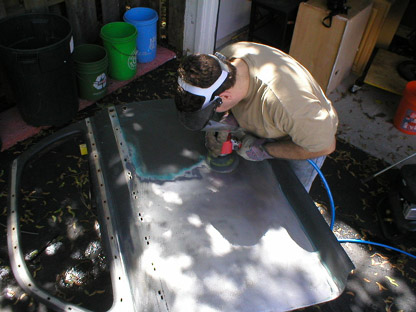
30, 2003 White Metal!Nothing like clean white metal as a foundation for restoration. Even though it may be a little premature, I wanted to try out my new DA sander and start assessing the condition of the sheetmetal under the many layers of paint on the car. I started with the driver's door and placed it on a pair of saw horses and started sanding the front. I used 80 grit paper, which puts a good tooth on the metal for good primer adhesion, but doesn't cut so deep that the scratches need repair later.
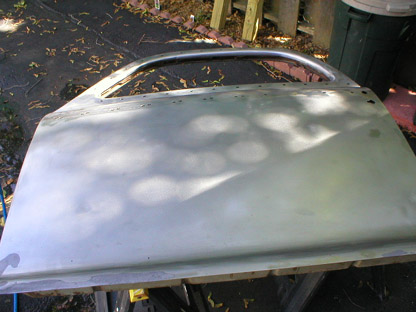
The sanding went pretty quickly on the flat portions with the DA making short work of the several layers of paint. It appears that the horrible turquoise paint was part of a two-tone combination, with the turquoise below the stainless trim, and that putty color above. Ugh! The good news is that I was able to uncover substantial stretches of the original paint, which shows that the upper part of the body was a dark silver, kind of a metallic charcoal, not a bright silver as many people believe. I'm going to try to save a chunk to match later.
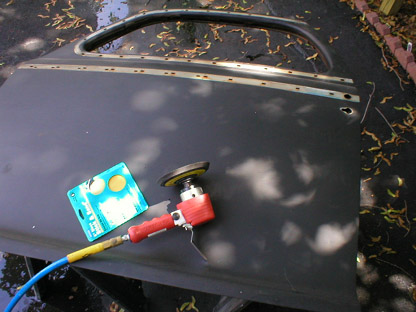
Once I'd sanded all the areas I could
with the DA, I got out a cleaning wheel I bought from Eastwood
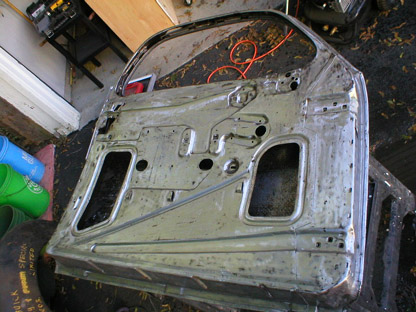
Feeling ambitous, I flipped the door over and started cleaning the seams where the skin is attached to the frame. There was significant surface rust, but only one place where there was a pinhole rust spot which will be easy to fix with a dab of welding. The Eastwood wheel wasn't so good at getting into cracks and small corners, so I broke out some small wire wheels and used them instead. They cleaned all the nooks and crannies very well. The last step was to coat the bare metal with Picklex-20, a phosphoric acid solution that dissolves rust (even micro-rust), and leaves a protective coating that will prevent rust until it is primed. It can be painted over, and enhances weld strength and reduces spatter. Neat stuff. I plan to follow up with some epoxy primer to seal it permanently. Inside the door and on the back side, I'll paint with a substance called Zero-Rust, which is similar to POR-15, though it is considerably cheaper and doesn't contain isocyanides, so it's a lot safer. I got all this stuff, as well as some great advice from Len Stuart at Autobodystore.com. I'm giving him a little plug here, and I'll give you some good advice: if you need tools, supplies or good advice, take advantage of the services Len offers. He's given me a lot of confidence in this project and his service can't be beat.
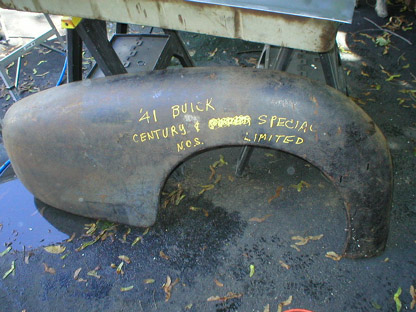
Oh, and one last thing--I picked up a perfect NOS right rear fender on Ebay a few days ago--you might recall that I was less than pleased with my original one... Excellent!
Previous
Restoration Day E-mail me at toolman8@sbcglobal.net This page accessed Thanks, Fidget! |