What's up with this
banner thing?
If
you don't see a navigation bar on the left, CLICK HERE
|
|
|
September
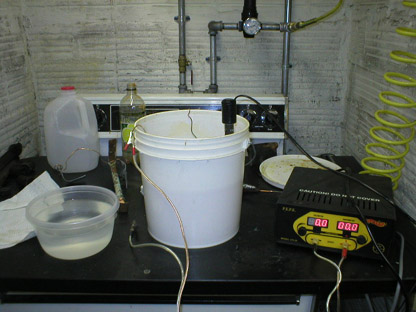
16, 2003 Adventures in PlatingI've been experimenting with my Caswell Copy-Cad plating kit over the past few months and my results have been inconsistent. However, I have learned a lot and I now believe I can plate hardware and small parts, though larger items will probably have to be done professionally. Tonight I tried experimenting with my "small parts basket" and tried plating some nuts, bolts and other small parts.
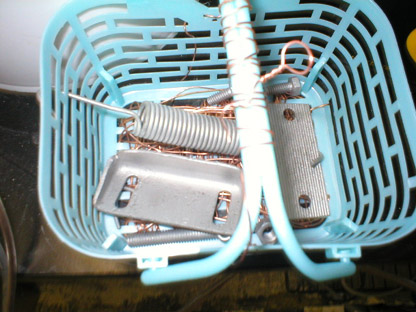
I'm not going to go into all the steps of the plating process, but you can learn more at Caswell Plating's website--it is very complete and thorough. At any rate, the first step in getting parts ready for plating is to blast them, which I did. Then I put them in my small parts basket, which is a cheap plastic basket (it has to be plastic--a metal basket will get plated). I ran some wires through the bottom of the basket so that any metal parts I put in there will be connected to the power source so they can be plated.
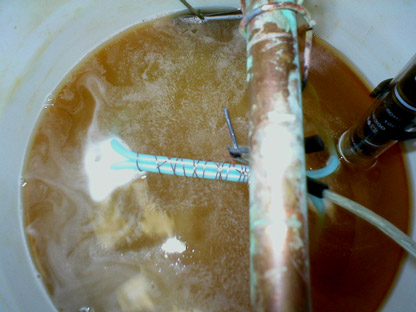
Then the basket is submerged in the solution and power is applied. There is a formula for figuring out how much amperage you need, but in my experiments, I've found that I can recognize the right amount of current by watching the bubbles that form as the plating process takes place. You'll also note that the copper wires get plated--any metal carrying current will attract the zinc.
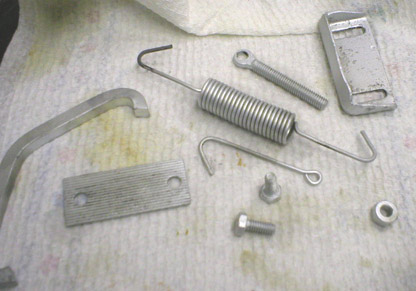
Once the plating is done, I remove the parts from the bath, rinse them in the distilled water, then put them on a paper towel to dry. It is as important now as before plating to avoid touching the metal with your bare hands or it will discolor. After about 4 hours, the parts are ready to go and can be handled.
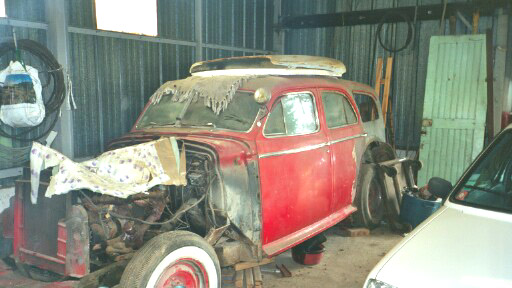
So, at the moment, I'm pretty confident in my ability to plate small parts in my basket. Nuts and bolts, while possible to plate, are things I would rather replace with new to prevent any failures in the future. I will likely use stainless wherever possible, though in areas where strength is critical, I'll stick to Grade-8 steel. One last thing: I received this from a gentleman in France. It is a 1941 Buick Super wagon. This is interesting for two reasons: one, it is a Super (all '41 wagons were Specials) and two, it is all steel, not wood. I've never seen anything like it before, and none of my literature has any indication as to what it is. It is clearly a Super 4-door sedan with a wagon tail in place of the trunk (I believe that is the tailgate on the roof). The owner says it came to France in 1944 with the Americans. Could it be an army vehicle of some sort? Does anyone have any clue what it could be? I'm very interested in finding out more about this vehicle. Please let me know!
Previous
Restoration Day E-mail me at toolman8@sbcglobal.net This page accessed Thanks, Fidget! |