What's up with this
banner thing?
If
you don't see a navigation bar on the left, CLICK HERE
|
|
|
November
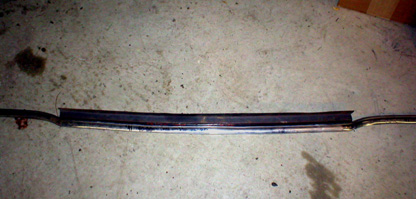
29, 2004 Trunk Work Part 10I was busy over the holiday weekend, too busy to get any work done on the Buick, but tonight I made some substantial progress. I wanted to get the main support brace installed again and start rebuilding the floor, but after I started assembling everything, it was obvious that getting the outside to fit should come first. I can make the inside floor fit it once I have it in shape. Quite a while ago, I purchased a replacement trunk lip that, while not an exact replacement part, was much better than fabricating one from scratch. You may also recall that Nick Seybold brought me a correct rear trim piece for a sedanette (the piece I owned that didn't fit very well and got this whole trunk mess started was for a 4-door sedan). I started by verifying that the replacement trunk lip was the correct radius, then cutting it to length (it is a generic universal-fit piece that fits a lot of 40s GM vehicles). I made two pie-cuts to the back of the lip so I could tweak the fit slightly.
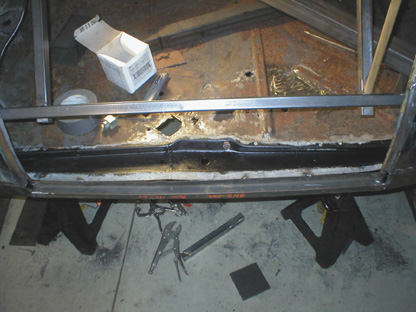
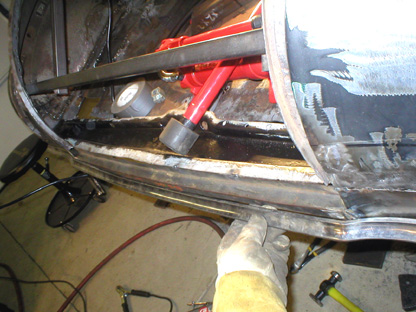
Satisfied that the shape was correct, I installed the rear brace and clamped it in place with some Vise-Grips, then tacked the lip in place. There is a pretty sharp corner at the edges of the lip where it welds to the lower quarter panel patches I made, but I'll adjust this later.
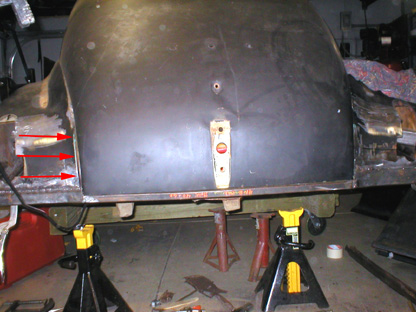
Once it was roughly positioned, I used my Porta-Power to push the right rear quarter panel around a little bit until I achieved a decent fit with the trim piece. Compare the photo below to the one that started all my problems.
Once the trim fit properly and I was reasonably certain of the contours, I started working on getting the deck lid to fit. Nick and I were able to get it pretty close so I could use it as a baseline for repairs, but I wanted to get the gaps tight before final welding anything. With a little tweaking, I got the gaps fairly consistent and found that the replacement driver's side quarter panel might not need as much work as I needed.
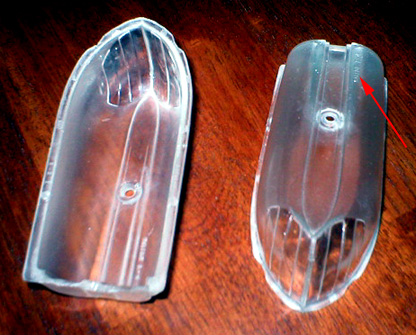
Tomorrow my plan is to get the brace tacked in place and see about pulling some of the gaps in a little tighter on the driver's side. One other interesting item: if you have a '41 Buick, you've probably tried to find some decent replacement parking lamp lenses. The only set I've ever seen were on Ebay for more than I thought they were worth (though since I haven't seen others, perhaps they were worth $80). Anyway, '41 Special 46-SSE owner Mike Osier (Dual Carb Registry #04-038) in Tucson has a friend named Ed Hooper who makes unmanned aerial vehicles for a living. In his spare time, Ed whipped up a batch of '41 Buick parking light lenses and they look great. Mike sent me a set to use on my car and said that Ed might be willing to make more for $60/pair if there is sufficient demand. So if you're looking, drop Ed an E-mail at ehooper@cox.net and ask him about it. He can also do colors, so if you want some trick amber lenses for your modified '41, no problem. Thanks, Mike and thanks, Ed!
Previous Restoration Day E-mail me at toolman8@sbcglobal.net This page accessed Thanks, Fidget! |