What's up with this
banner thing?
If
you don't see a navigation bar on the left, CLICK HERE
|
|
|
September
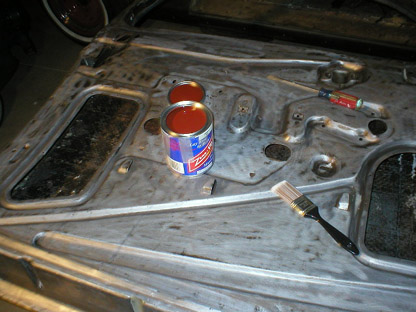
8, 2003 Protecting My Old IronI'm one of those guys who over-engineers everything I do, whether it is a remodel in my house where I use 12 gauge wire where code only calls for 16, or with my racecar where I install coolers for the transmission and differential to keep them alive longer. I want everything I build to last forever and to show whomever comes along after I'm gone that I actually cared about what I was doing. I don't want to do anything twice, so it's worth the extra 20% effort the first time because 120% is a lot less than 200% when you have to do the job twice. Part of that philosophy is a severe aversion to rust, even on a car that may never see rain again. Though my Century is 90% rust free, it will be 100% rust free when I'm done. I plan on keeping it that way. So with that in mind, I decided that I had to cover up the bare metal on that door that I stripped and take the second step in my sheetmetal restoration and preservation experiment. The first step, you may recall, was the application of Picklex-20 over the bare metal to neutralize any rust that remained after I got done sanding. Tonight I applied the first of two coats of Zero-Rust to the inner panels of the door to seal and protect the metal against any moisture that may accumulate inside.
The most important areas to cover are the seams where two pieces of metal overlap. This is an ideal place for moisture to collect and start rusting the metal. I made double sure to hit the bottom lip of the door where the drain openings are, as well as where the outer skin is rolled around the frame. For most of the application, I used nothing more complex than a cheap paint brush. I also plan to coat the entire inner panel, as well as the inside of the door, which includes the back of the skin and the back of the inner panel. For this, I'll use a rust-proofing gun I purchased from Eastwood that can spray in all the nooks and crannies. Unfortunately, it's back-ordered until later this month. But at least I covered most of the important areas of the door to protect them.
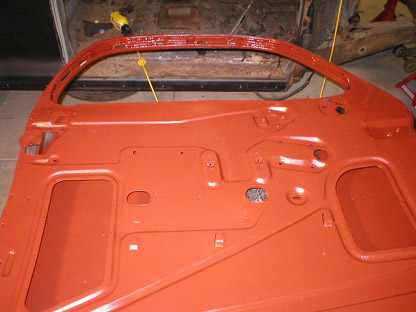
Though Zero-Rust can be topcoated, I avoided painting any edges that will be highly visible once the car is painted and reassembled, including the outer skin and the latch-side door jamb. These areas will be covered with epoxy for protection, which will be more than adequate for these areas. The Zero-Rust is cured by solvent evaporation, so I'm going to give it plenty of time to dry before I start applying the second coat to eliminate the chance of trapping solvent between coats. That will probably be sometime after I get the rustproofing gun.
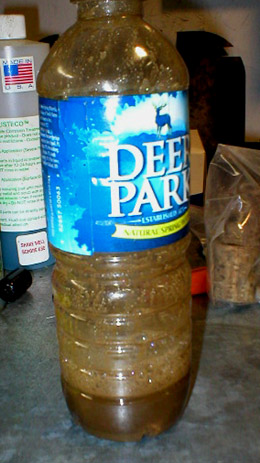
And to follow up on yesterday's project, I drained the Rusteco from the defroster core to see if it had done it's job. Apparently, based on the slurry that came out, it had. There was a lot of gunk in there, as well as a lot of solid matter that the liquid flushed out. I blew it out with air, eliminating even more junk. The only bad news I found was a pinhole leak in one of the tanks. I can't even see it, but there is some slight seepage at one point that appears to have been soldered at one point in the past. I'll solder it again to try to seal it up again. But other than that, I think the core is in usable shape.
Previous
Restoration Day E-mail me at toolman8@sbcglobal.net This page accessed Thanks, Fidget! |