What's up with this
banner thing?
If
you don't see a navigation bar on the left, CLICK HERE
|
|
|
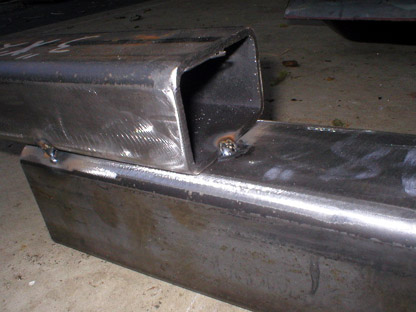
7/8/04 Rotisserie Construction Page 1 Page 2 Page 3 Page 4 Page 5 Page 6 Page 7 Page 8 Page 9 FINAL Update I laid out the main "T" of the base and shimmed it so that the pieces met perfectly square to each other, then tacked them together. I'm going to tack the whole assembly together so I can make any last-minute adjustments to the plan, then finish weld all the joints later.
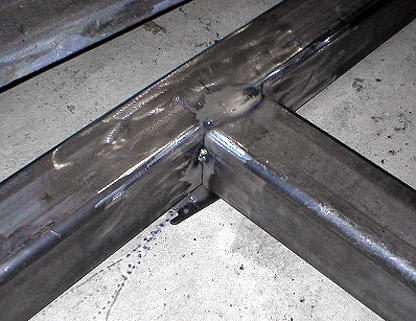
You'll notice in the photo above that the top joint is fully welded. That's because I noticed the upright would cover the joint completely, and I wouldn't be able to get full penetration with the weld if I covered it up. So I did a triple pass weld and finished it. I ground it smooth with the die grinder so that the upright would fit flush. This is another important tip for welding: make sure you can get full penetration before you cover any joints with another piece of metal.
Adding the upright was easy. I positioned it and used a level to make sure it was straight and a metal ruler to make sure that it was flush with the base "T" then tacked it in place as well. This steel is heavy enough and thick enough that I don't really have to worry about the weld "pulling" the part as I would when welding lighter parts. Pulling is when you're tacking one side of a part and the other side separates because of the heat. This 3/16" thick steel doesn't have that problem.
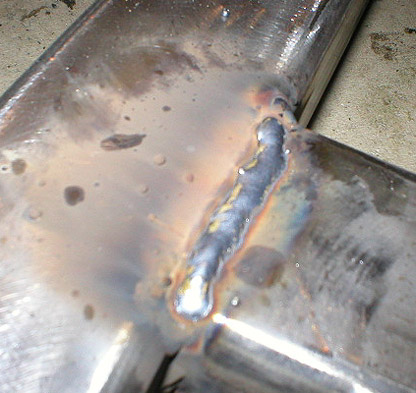
Attaching the outriggers for the rear wheels was next. These joints need to be very strong since they'll be carrying all the weight of the assembly. Fortunately, these welds will be very strong because of the rounded corners of the tubing which makes a perfect trough for multiple passes with the welder. It should be plenty strong once it's all said and done. I just tacked them in place for now, however.
Page 1 Page 2 Page 3 Page 4 Page 5 Page 6 Page 7 Page 8 Page 9 FINAL Update E-mail me at toolman8@sbcglobal.net This page accessed Thanks, Fidget! |